Background
When a dear friend of mine asked me to photograph the wedding of her son and to-be daughter in law I was immediately overwhelmed by two emotions as this was going to be my first wedding shoot:
- Firstly relief that I had a wedding to photograph at last (who wants a first-time wedding photographer to perform this most important deed, right?)
- Secondly a huge sense of responsibility. I mean, while messing up a stranger’s wedding may damage your desire to found a solid reputation, at least it would not incur the cost a friendship as well!
Then there was the possibility that the couple might (understandably so!) not share mom’s enthusiasm and trust in this newby stranger / photographer at all! Efforts to get confirmation from her that they were buying into this plan of hers were met with a perceived cold shoulder, implying ‘I want you and no-one else’! Only once their wedding photography fees were fully paid well in advance did I gladly accept the fact that I was actually going to shoot this wedding!
I must admit that the invitation to photograph this wedding did not come only from our friendship. It was supported by 3 years of intense work in getting to know my camera and photography by means of photographing birds, wildlife and landscapes. There were also the occasional studio and portrait shoots (click on these links to see more). Interested in how I went about shooting this wedding? Read on!
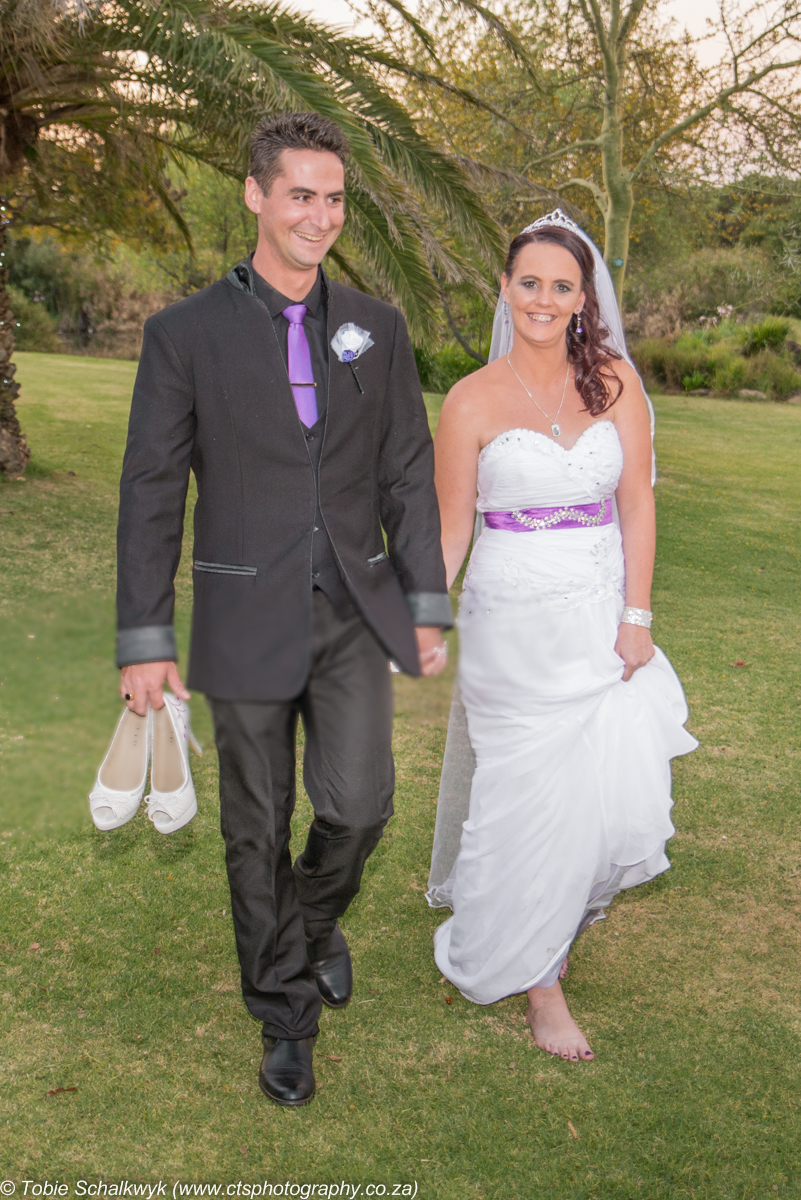 On the way to the reception
Preparation
I was not prepared to walk into this most important event without feeling confident that there was nothing more I could do to ensure success.I’m convinced that I have a flaw in my genes because once I get involved in a project, I live eat and sleep it! Once reality sank in that I was officially the photographer for this wedding, I acquired and worked through David Ziser’s excellent book Captured by Light – as I firmly believe that photography is all about light. That was followed up by downloading three kindle versions of Robert Valenzuala’s books:
- Picture Perfect Lighting;
- Picture Perfect Posing;
- Picture Perfect Practice.
I re-worked certain sections of these books a few times, in favour of an increase in confidence every time I did so. Picture Perfect Practice has a lot of off-camera flash exercises which I’ve practiced on the styling heads of my granddaughter’s life-size doll (in my man cave where no-one could frown at me and report me to the nearest mental institution)!
Equipment.
I bought a bigger 5-in-1 reflector set (120cm x 180cm) which included a scrim (a diffuser which lets just enough light through to create the most amazing shade on the face of your subject) but this proved to be in vain for this particular wedding – the early summer sun was almost gone by the time we started our shoot.
I rented a Tamron 90mm f/2.8 VC USD Macro lens to get picture perfect shots of the wedding rings and other small items but this proved to be unnecessary. I was much happier with the quality of the same shots from my trusty 24-70mm Tamron f/2.8 lens.
Shot list.
About three weeks prior to the wedding I compiled a shot list based on Google searches, a read through BruidGids (an annual production strongly recommended for wedding couples and their parents) and common sense. This was then sent back and forth between the couple and myself with additions / omissions as needed. I also asked the couple to each give me a list of 10 things they fear most from a wedding shoot and 10 must-have shots. I thus knew what I wanted to avoid most and what I wanted right on top of my shot list.
Couple / engagement shoot.
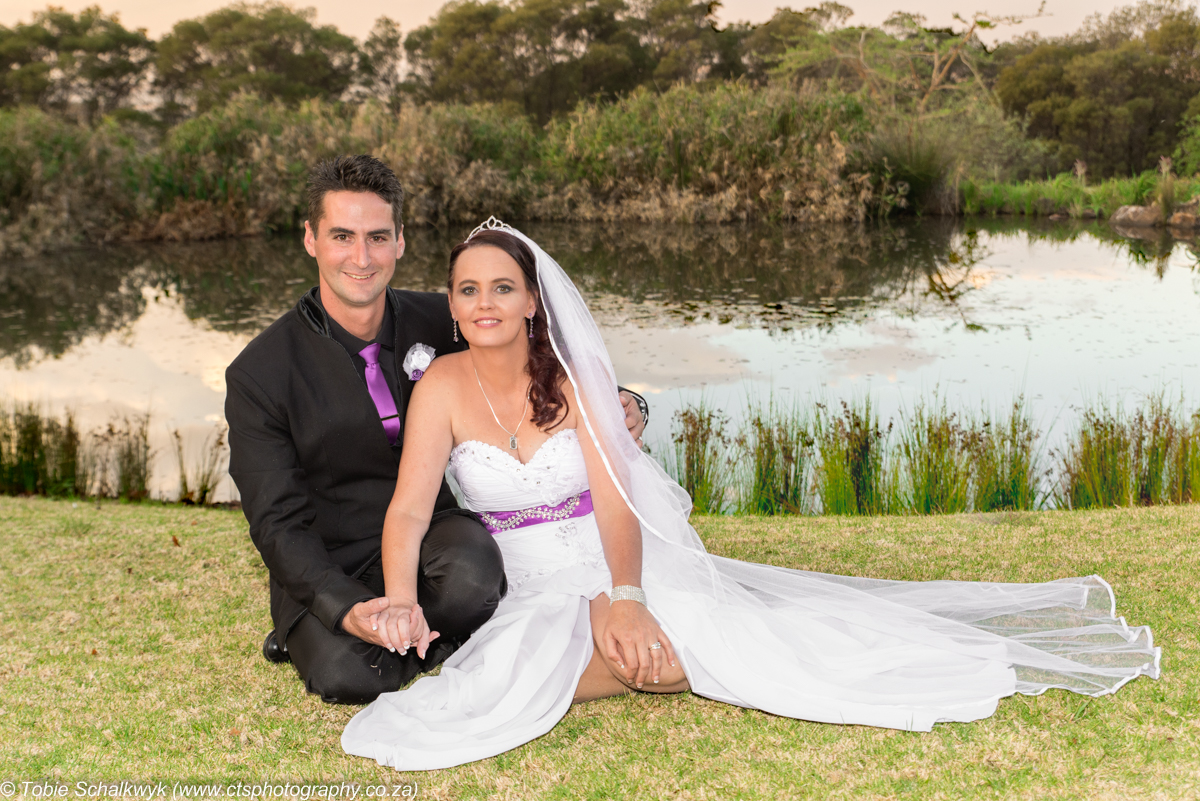
I requested a couple shoot at the wedding venue a few weeks before the wedding. Firstly to get to know the couple and vice versa. I also wanted to identify suitable areas for certain shots on the wedding day and it helped me to construct a few ideas in the back of my mind, in case our prayers for much needed rain were answered on the wedding day.
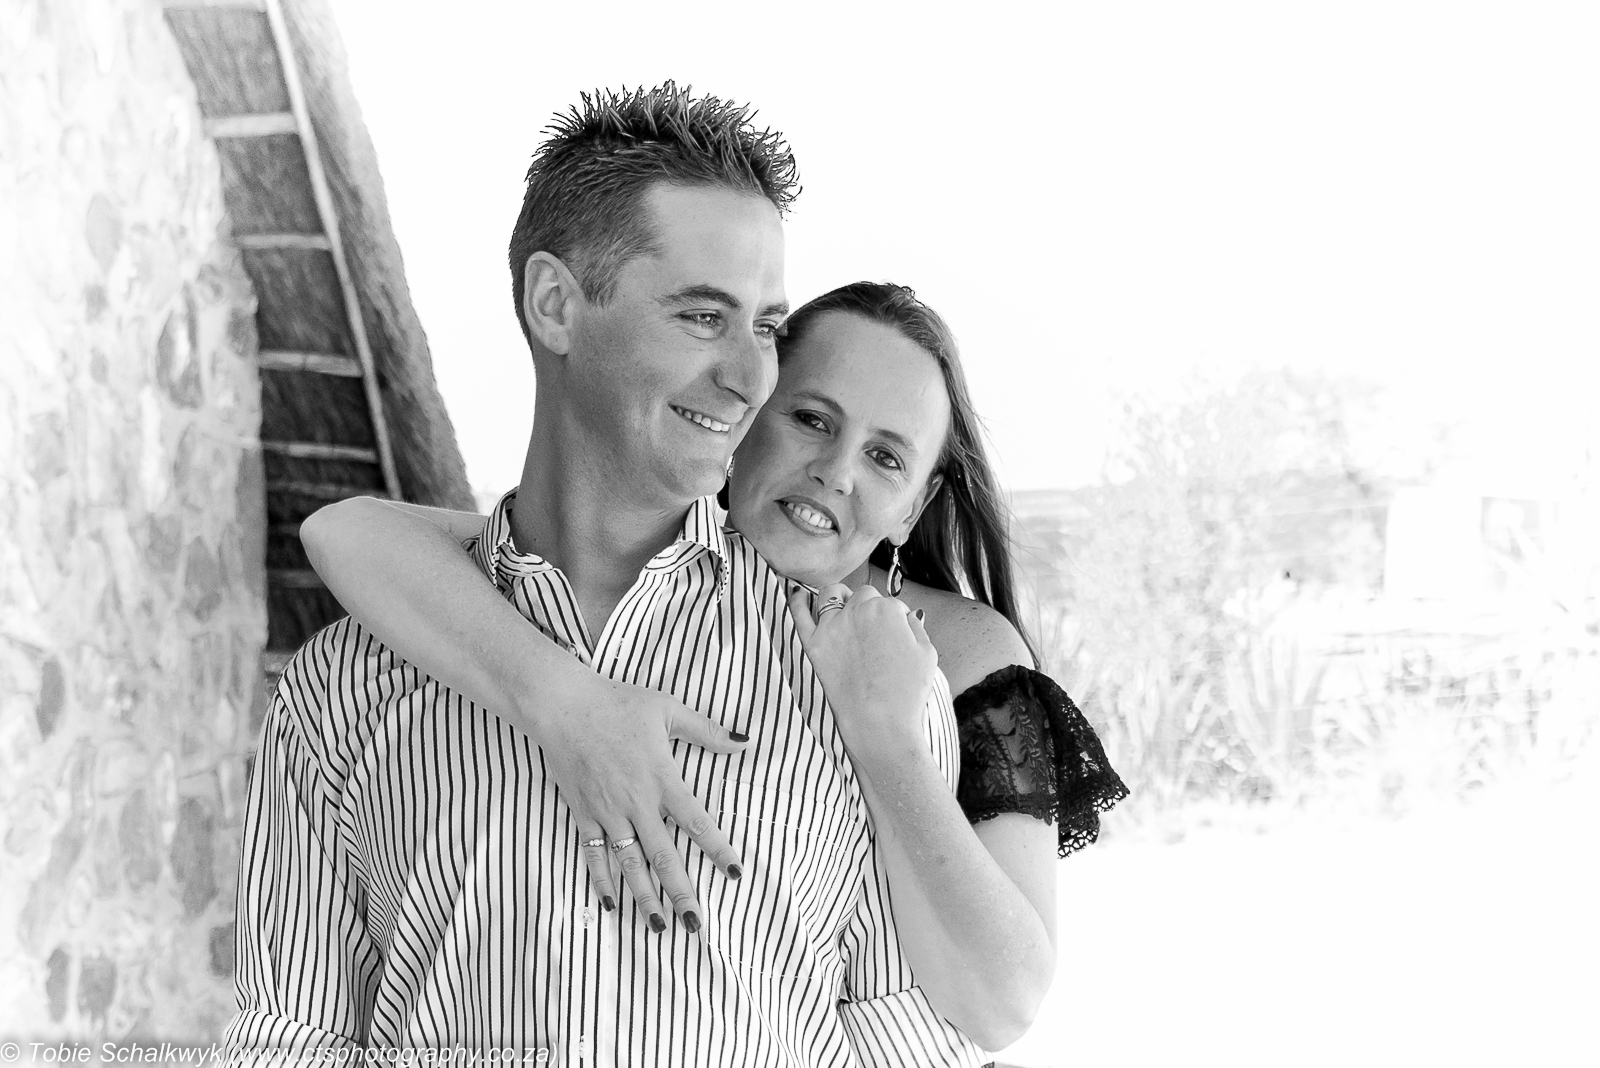 Getting to know the couple
This shoot gave me peace of mind as I realised that the couple were as keen as I was to get a nice collection of shots from the wedding. I took the opportunity to share with them a few posing do’s and don’ts, as I would not be able to oversee this when working against time on the wedding day. The added advantage of the couple shoot was the production of quite a few nice keepers (if I may say so myself!). I reckon it also gave them the assurance that maybe – just maybe – this newby is going to produce a few keepers on their wedding day after all!
Assistance. One of these answers prompted me to ask a lady friend of mine and her husband to help out as 2nd photographer and assistant: the bride expressed her desire to have a photo of the groom at the moment he sees her coming down the aisle with her dad.
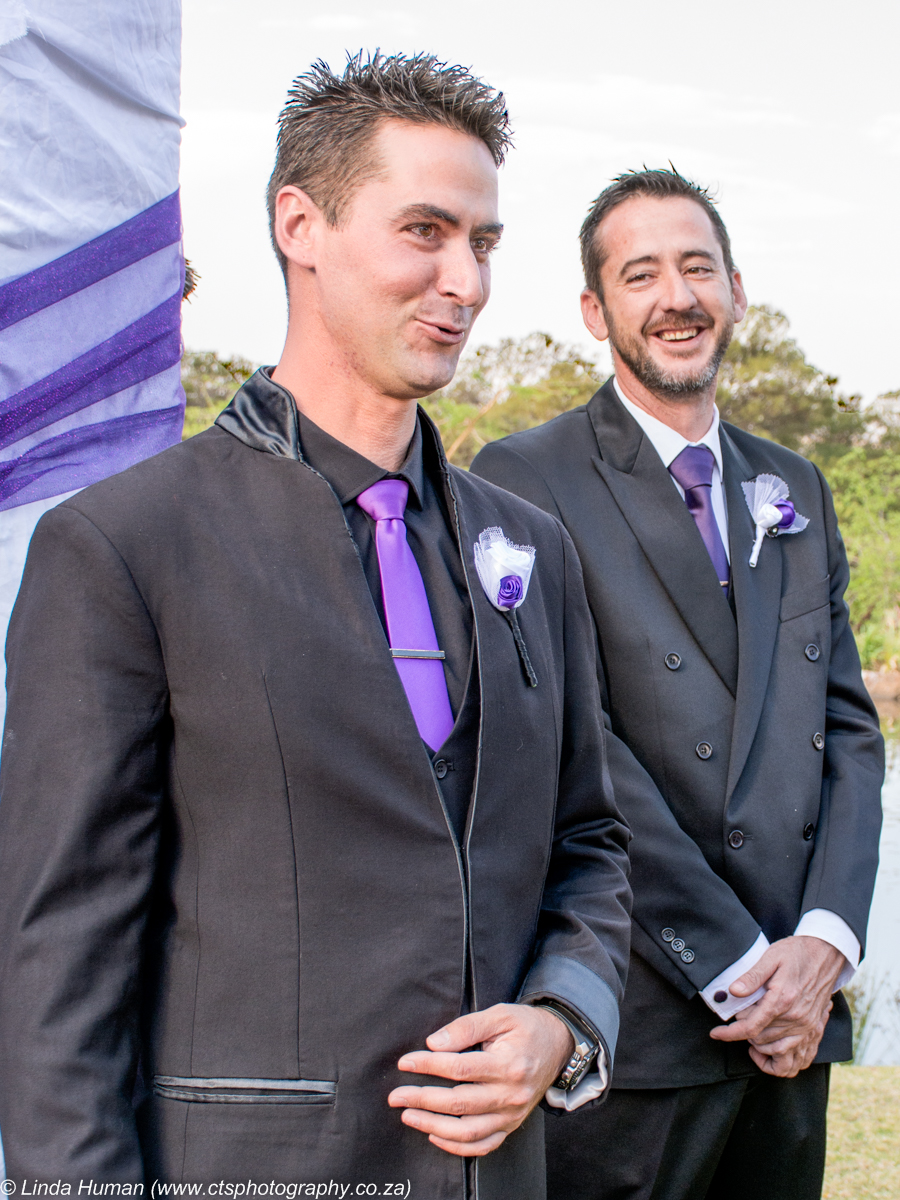 Difficult, if not impossible without the use of a 2nd photographer
I know that this is a critical moment for any photographer as one’s focus is fully on the bride and her dad. The result was a beautiful image as requested, and a feeling of satisfaction when the bride asked for this in addition to the original suite of images to be released first for viewing on social media.
My first wedding shoot
Friday evening. This wedding shoot actually started on the evening before the wedding day.I told the groom that I’d love to photograph the preparation stages of the wedding, and he arranged for me to sleep over at the wedding venue on the Friday night.
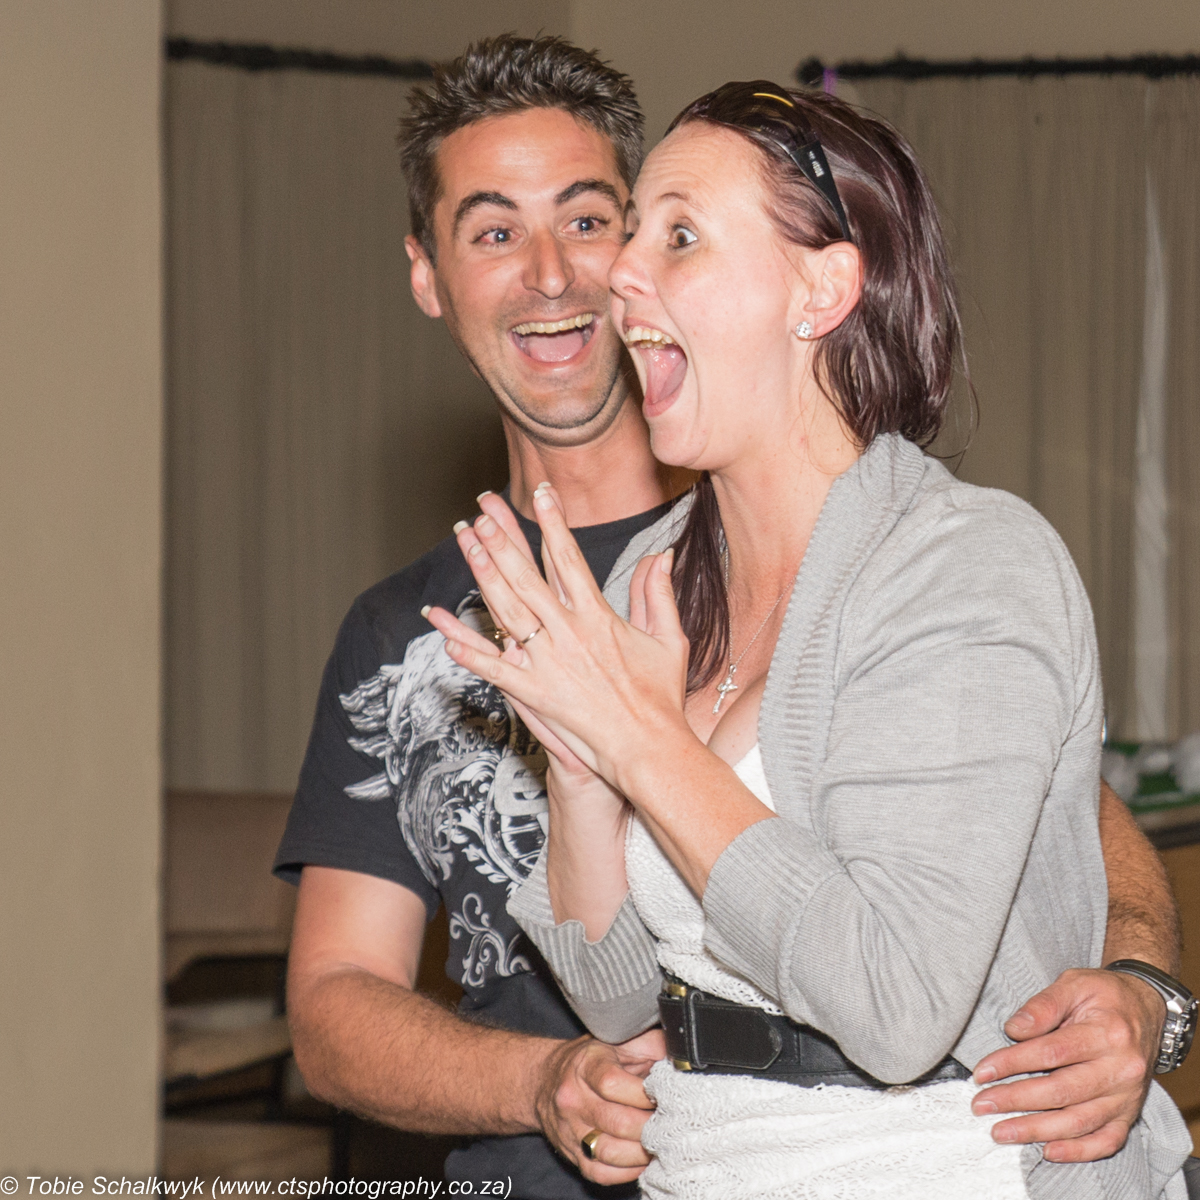 Mom!
Mom!
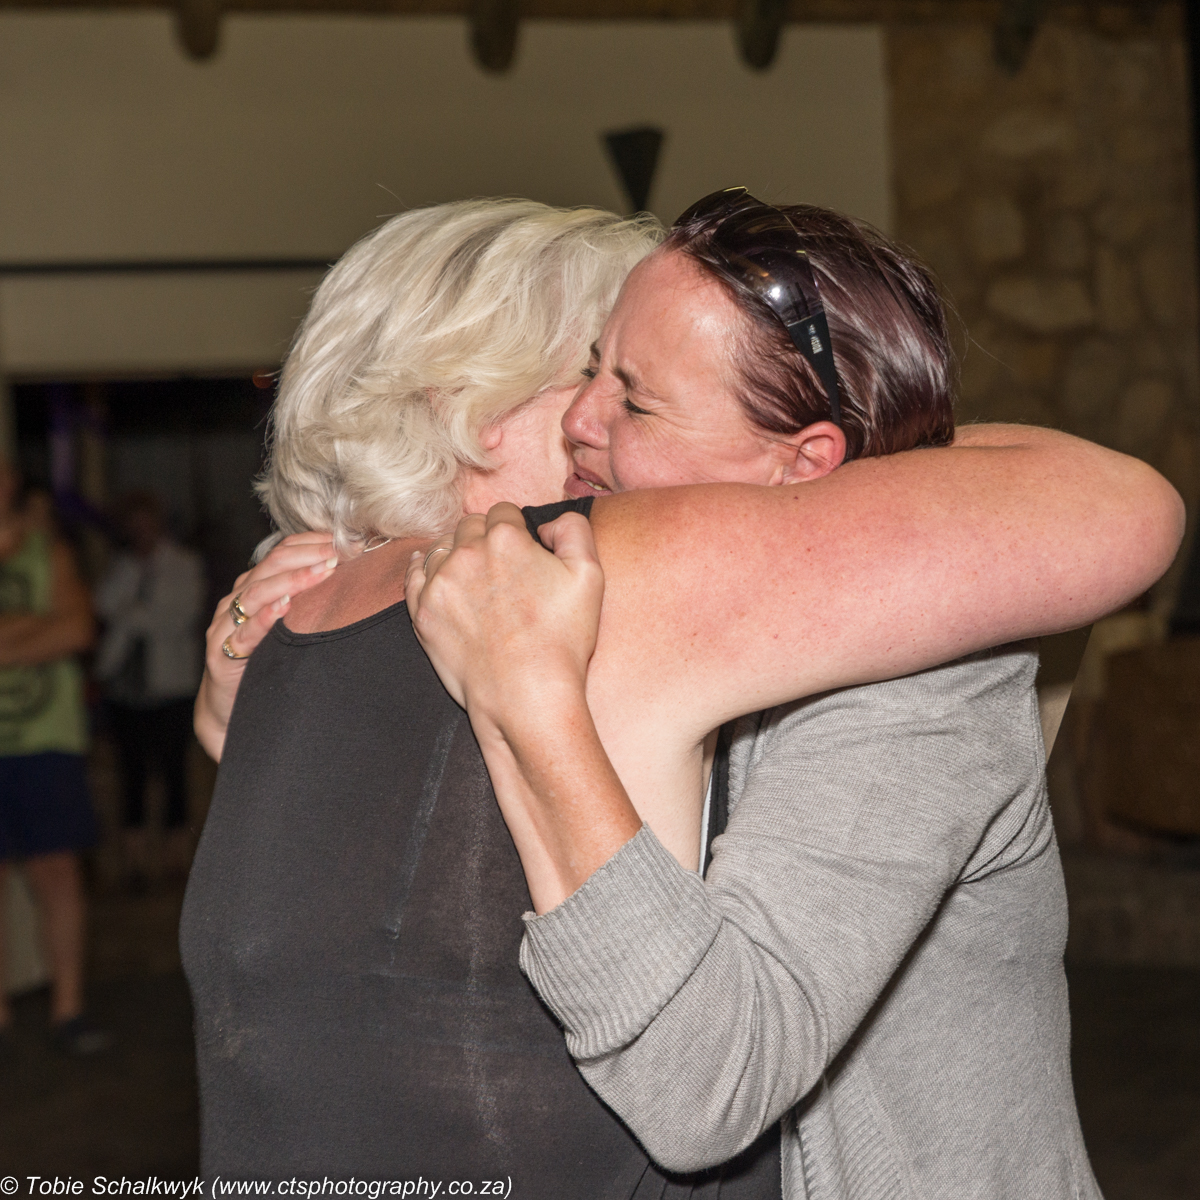
Little did we know that the bride’s parents secretly arrived the day before from London, and that they were going to attend her wedding! At some stage the groom told her that he had a surprise for her in the hall. He held her eyes shut as he led her into the hall, and when he removed his hands she looked into her mom’s face!
If I sacrificed my Friday night for just the two shots that I took of that moment then it was absolutely worth it!
Saturday.
On Saturday I paid the ‘girls’ a visit at the hair salon to capture those moments, and then went back to the venue, where I spent time photographing the small items and the wedding dress in the bride’s room.
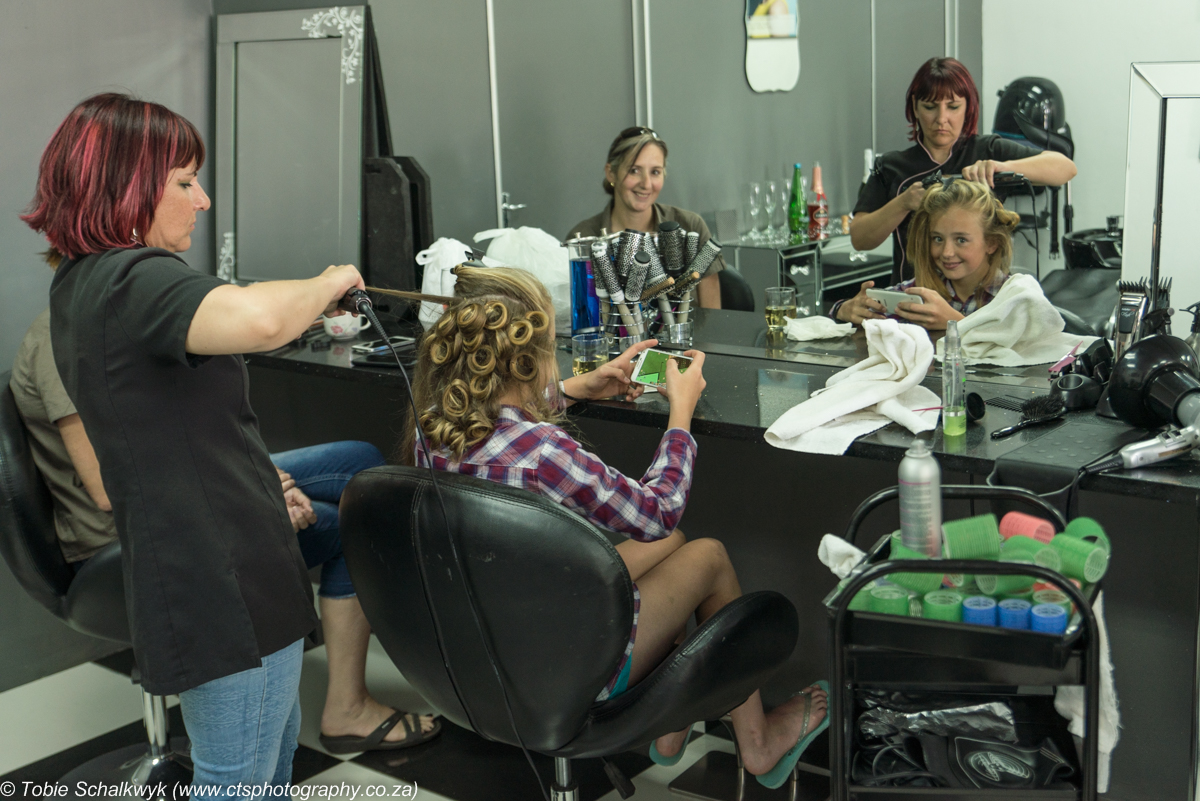 The girls getting ready in style…
The bride arrived an hour late from the hair salon, and the vibes varied from extremely stressed (the parents) to totally relaxed (the bride and hair stylist) to a big joke (that’s me!). About half an hour after the scheduled time the bride and her dad walked down the aisle – not bad going considering that she was still getting her make-up done at the time they were supposed to arrive!
The ceremony was followed by our scheduled one-hour photo shoot, and my only regret was that we did not have at least ninety minutes for this session (as requested in our wedding shoot contract). I was relieved that I had asked the bridal couple to list a maximum of ten group shots for our shot list (which ended up in quite a few more), and in the end we had to cut back on our planned couple shots.
Although a little disappointed, I was not too worried as the decision to move on to the reception was made by the groom – and after all we did have those nice shots from our couple shoot a few weeks earlier.
The reception went off well – filled with the typical formalities, lots of fun and lots of dancing.
Challenges
Time.As mentioned before we were a little pushed for time during our official photography session between the ceremony & reception. There were small interruptions because the groom was involved in most of the preparations and proceedings for the day, and people needed to consult him for clarity about some of the proceedings. Had I known what I know now, I would have suggested a maximum of 6 group shots – however I know how important these shots were to our bridal couple and their parents, so that would have been quite difficult to enforce in this event. Maybe a bit of pressure from my side to lengthen the scheduled time for the shooting session to 90 minutes in the planning stages would have been a good idea?
Fatigue.
I wanted to take some shots of the bridal couple in/at the vintage wedding car only after dark but eventually this proved to be a challenge. I felt extremely guilty because the couple started to show signs of fatigue (understandably so because I was feeling it as well by that time!) and I knew that they’d rather be with friends and/or on the dance floor at that stage. I thus kept that session as short as possible.
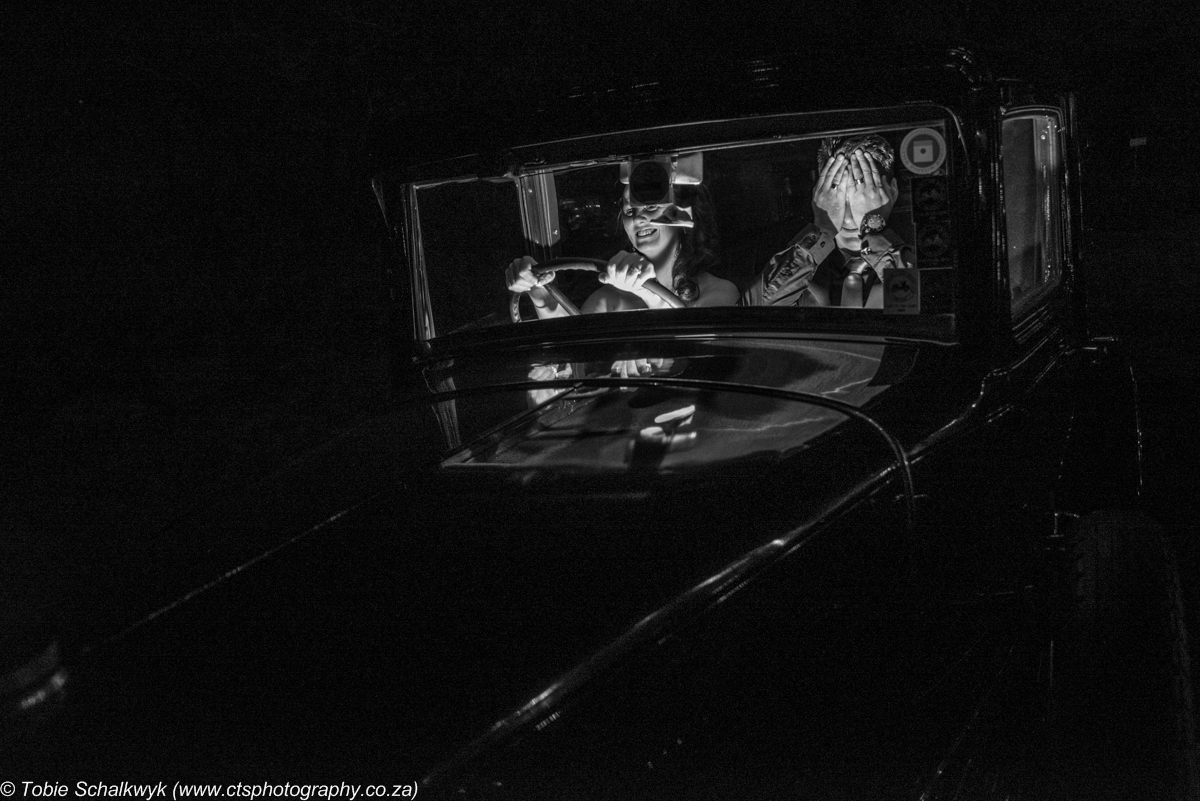 Quick in-the-dark photo session
The sun.
The reception was held in the open air and everyone other than the pastor was in full sun. This posed the typical photographic challenges, especially with the white wedding dress and white chair covers. These challenges were successfully handled in post processing though.Setting up group shots. When it became clear that the setting up of the required group shots was going too slowly, the groom took over this responsibility. This proved to be very effective as no-one was going to argue with the groom, right?As mentioned further down, it is advisable that the couple nominate someone who is given a list of the desired groups and is responsible for rounding up the participants.
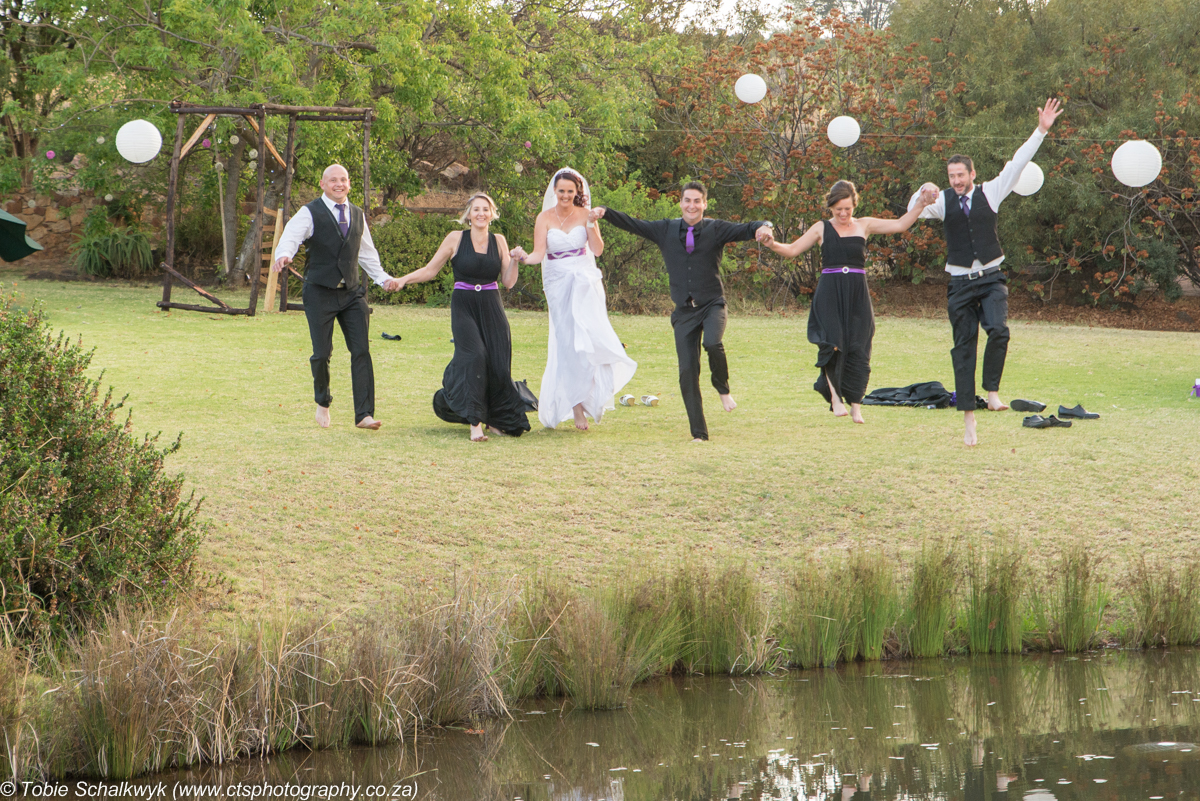 Having fun during the photo session
All in all we’ve had no surprises too big to handle, and the willingness and desire of the bridal couple to have lots of keepers made it a perfect shoot from a photographer’s viewpoint. If I could have it all over again I would ask for nothing different except for an extra 30 minutes for the photo shoot between the ceremony and reception.
9 Tips for first time wedding photographers
1. Try to land assistant / 2ndphotographer jobs first.
Easier said than done because I’ve found it as difficult to get a 2ndPhotographer job as to get a first wedding to photograph. Anyone asking for 2nd photographer recommendations on social media is immediately flooded with offers and is spoilt for choice. So, let me reword this and say ‘If you have an assistant / 2nd photographer opportunity with an experienced photographer prior to your first wedding shoot, grab it with both hands’!
2. Read as much as you can about wedding photography.
Specially about lighting setups similar to what you’ll be using. The books mentioned above are excellent (and dare I say sufficient?) and you should not need any additional theoretical knowledge for a successful shoot;
3. Join relevant social media groups.
Facebook has multiple Strobist, Off Camera Flash and Wedding Photography groups. Learn from these – they contain practical examples of people in the field and they’re more than prepared to share their knowledge with interested parties. That’s why they’ve joined these groups, after all!
4. Practice
If you’re aware of any uncertainties with your setup or lighting, simulate the wedding conditions at home and practice your shots until you’re happy with the result. If you’re using off-camera flash, make sure you can quickly switch from an on-camera to off-camera speedlite. Know when you’re going to use iTTL/eTTL vs. Manual flash modes and how to effortlessly switch between them in dark conditions.
5. Keep your batteries and memory cards close-by
I bought a moon bag type pouch which I’ve attached to my belt for this purpose. It contained: –
- extra memory cards;
- a backup camera battery;
- extra AA batteries for my speedlites / wireless flash kit;
- a lens cleaning cloth and lenspen;
- The blue gel kit which I was going to use on my off camera flash for the bridal couple’s 1st dance;
- business cards.
- a laminated diagram of posing ideas from Picture Perfect Posing;
6. Insist on a couple shoot.
I offer this for free if the couple book a wedding shoot with me, as it’s as much to my advantage as to theirs. If possible at all do this shoot at the wedding venue, and at the same time of day that you’ll be shooting their wedding photos. That will identify potential issues with light and rain and help you to plan accordingly.
7. Get assistance
- Assistant. Use an assistant, specially if you’d be utilising off-camera flashes and/or reflectors.
- Second shooter. If you’re ever planning to go solo on a wedding shoot, your first wedding shoot is not the time to do so. Get a 2nd shooter you trust and give him/her a list of shots he/she is responsible for. If possible, get someone who has done a lot of wedding shoots before and of a different sex than yourself. Some brides / bridesmaids might feel more at ease with a lady photographing them before they’re fully dressed and vice versa for the grooms and best men. Lots of experienced photographers are prepared to help out as 2nd shooter at relatively low fees, because they do not have to stay as late as you do and they won’t be involved in the post processing of the images. If you’re not sure who to ask, ask for a recommendation in a relevant (local) group on social media. In South Africa I can recommend Gateway to Wedding Photography on Facebook;
8. Appoint a Group shot organizer.
Assign the task to assemble the people to appear in each of the group shots to one or two persons well known to the guests. Perhaps one from each of the families. If these persons are assertive it certainly helps. Give each of them a list containing the names of the participants in each group photo. Limit the group photo’s to 6 for a 60 minute photo session and 10 for a 90 minute photo session. If you do not do so, your couple will have to be prepared to sacrifice a number of shots taken of them alone and/or go beyond the scheduled time for the wedding shoot.
9. Don’t expect everything to go according to plan.
Life happens. Certainly on wedding days. More often than not things will start running late at some stage. Stick to your plan and shot list as far as possible and, if you deviate, do so in consultation with the bridal couple. Let them make the final decision(s) and adjust accordingly. After all your responsibility is to record the wedding progression and not to dictate any of the events.
Conclusion
Being a Wedding Photographer is a privilege. Your first baby steps can be a wonderful experience or it can be a nightmare. All depends on how well you prepare and what assistance you call for. Remember, every wedding photographer started off somewhere – and very few of them started by flying at full speed without the need to land somewhere to take stock every now and again.
Enjoy the journey. It’s a great one.
Equipment used:
- Camera: Nikon D600 (Full Frame). Nikon D7200 as backup but not needed;
- Lenses: Tamron 24-70mm f/2.8 VC (99% of the shots); Nikkor 70-200mm f/2.8 VR1 (a couple of shots); Tamron 90mm f/2.8 VC (a couple of shots);
- Speedlites: 2x Yongnuo YN568 EX (off-camera); 1x Yongnuo YN685 (on & off-camera);
- Yongnuo YN622-XT wireless flash trigger kit;
- MagMod MagBounce diffuser (on the Yongnuo YN685);
Stats
- Me: +/- 750 shots in RAW format, 20Gb+; Used 2x 32Gb SD cards with the 2nd card set up as duplicate of the 1st;
- 2nd shooter: +/- 750 shots mostly in RAW format, 20Gb;
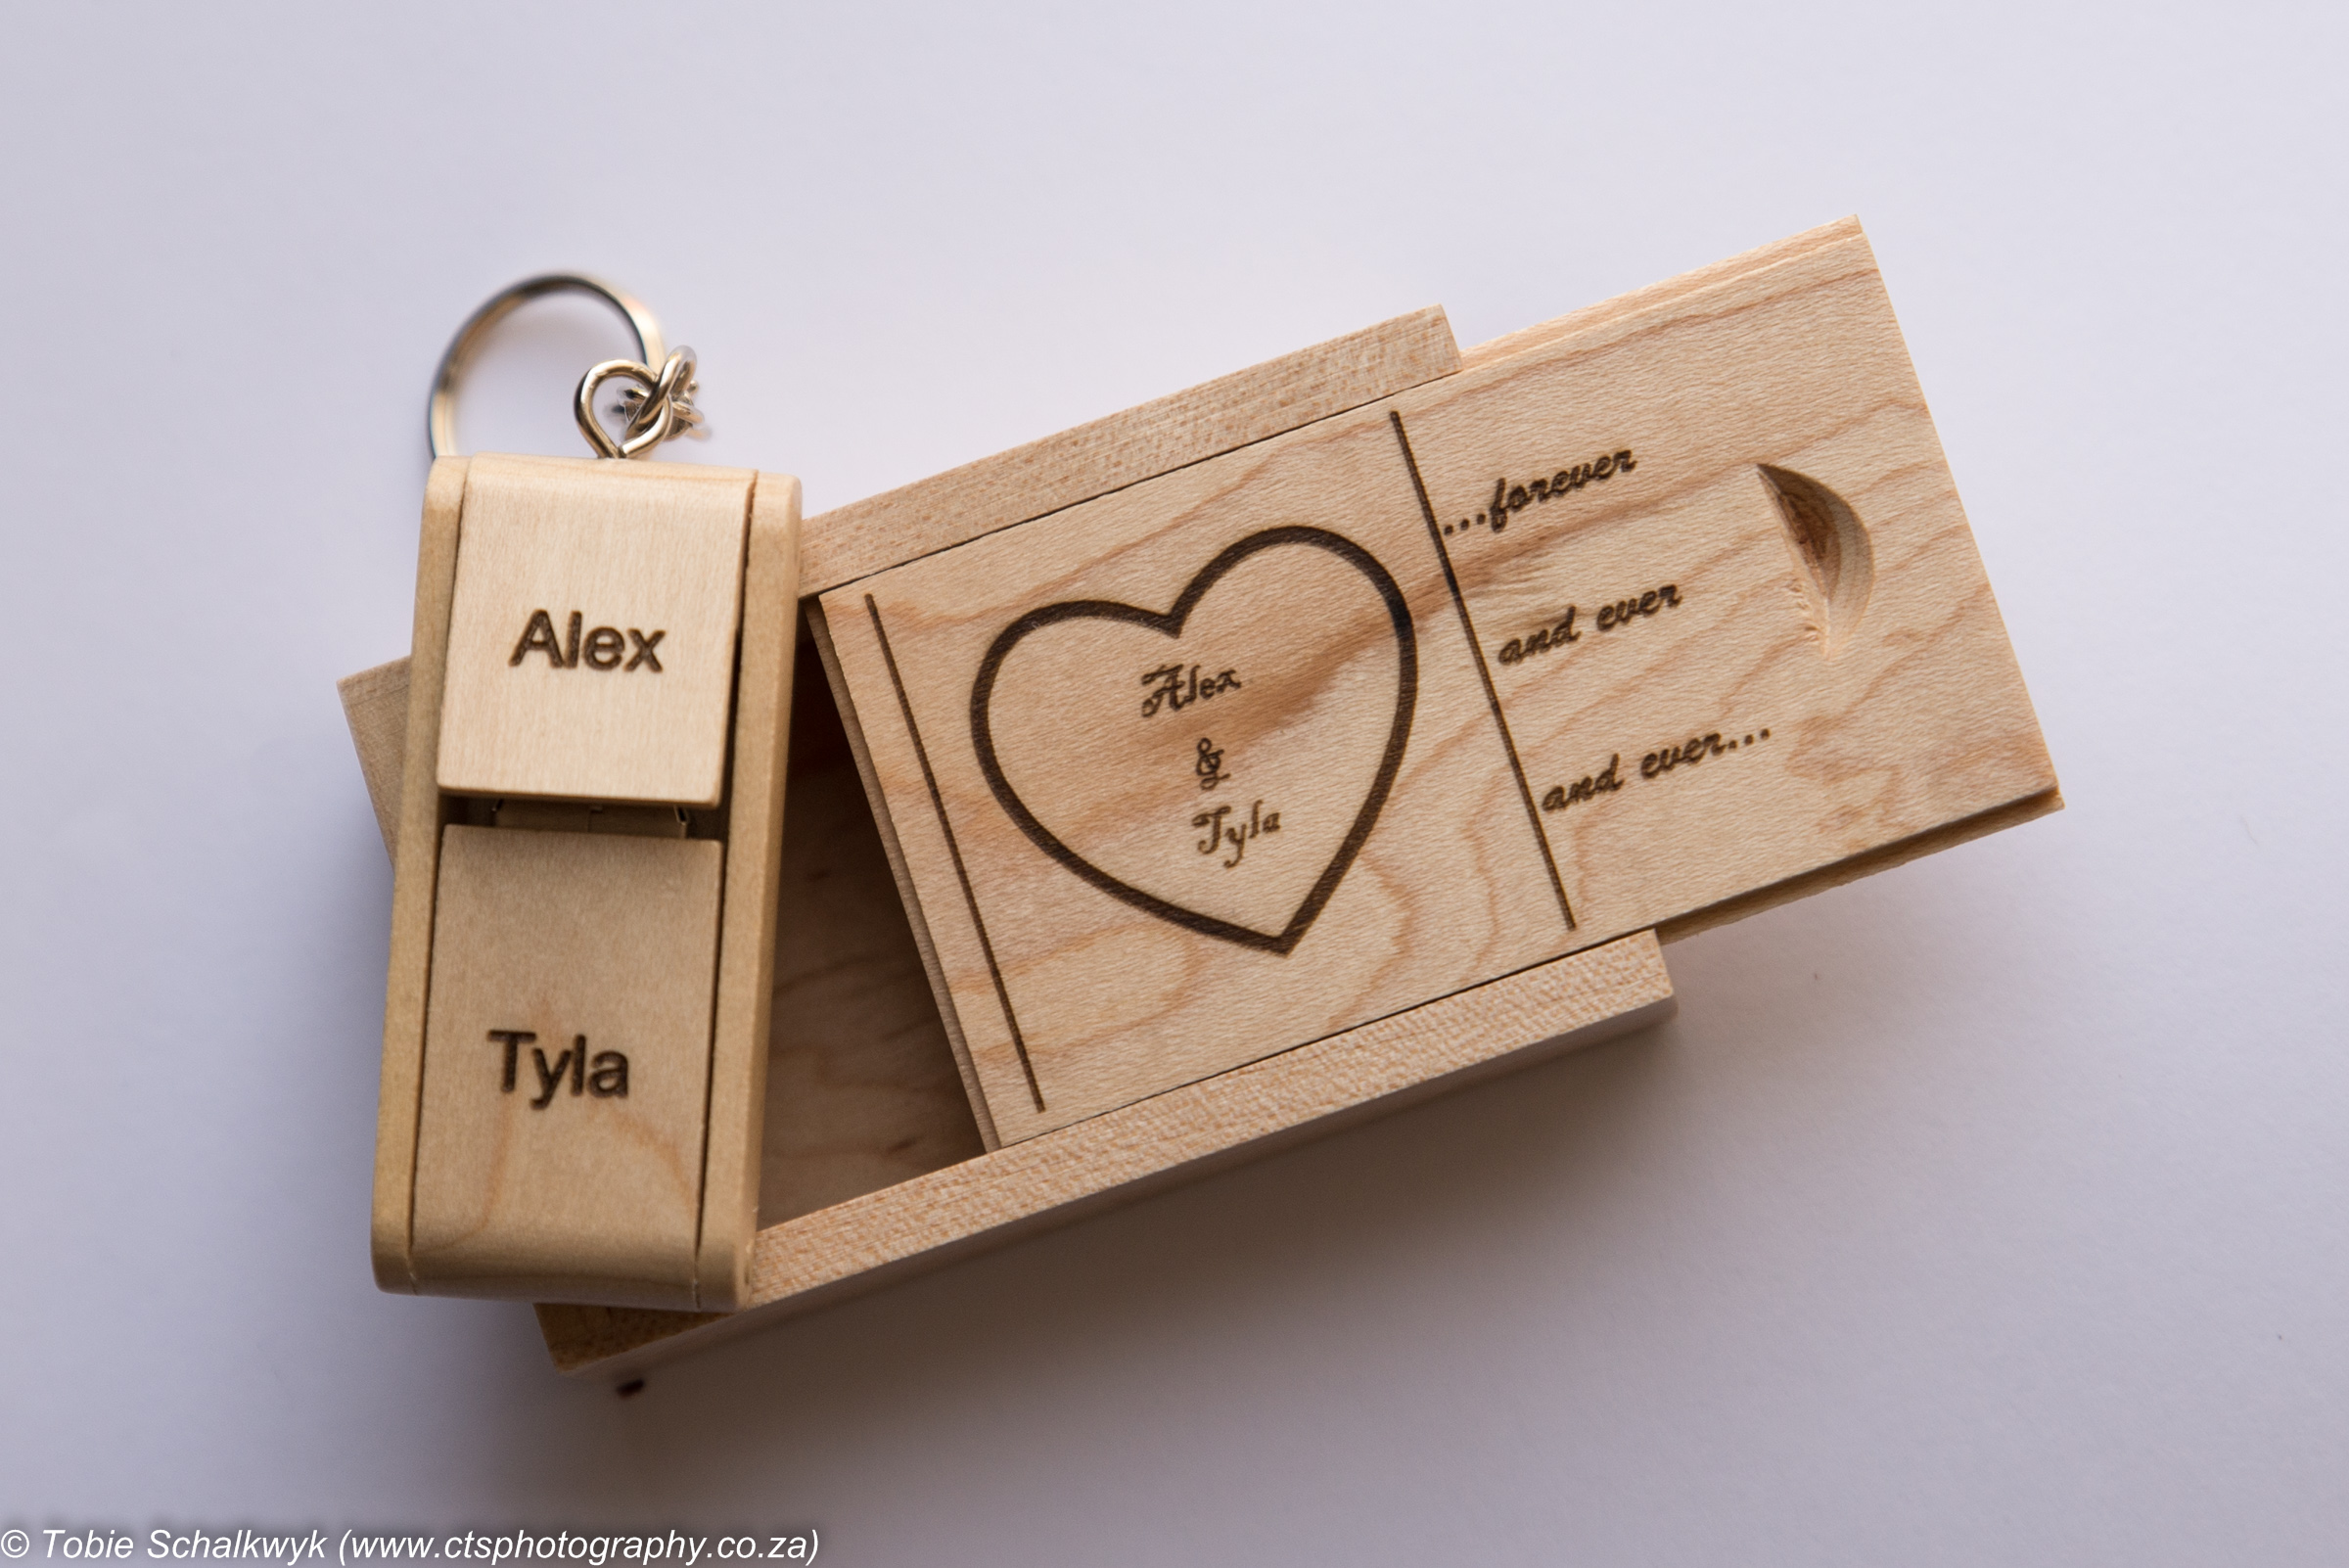
- 302 edited images handed to the bridal couple on a unique, custom design USB flash drive.
Other blogs by the same author
The challenges of starting Wedding Photography
9 Tips to help you realize your dream wedding album!
Handy Links
My favourite photography website: www.lightstalking.com
Tobie Schalkwyk is a full-time Java web developer who hopes to move into full time wedding, portrait and event photography when he retires at the end of 2017. All comments on this blog are most welcome. How did your 1st wedding shoot go? Share your experience below! Any questions about your coming shoot? Let them come!
